June 9, 2026
Picture this: your sales rep just closed a verbal "yes" on a six-figure deal. The prospect is ready to sign right now - laptop open; coffee is still warm. Your rep pulls up the Opportunity in Salesforce, click "Send with Conga Sign" and nothing happens. No button. No errors. Just a blank space where the e-signature workflow should be. The prospect checks their watch, says "send it over later," and by Monday morning they've gone dark.
That's not a horror story. It happens every week in orgs where Conga Sign was installed but never properly configured - wrong permissions, missing OAuth connections, profiles that weren't included in the setup. The package sits in Installed Packages like a sports car with no engine.
The good news? Installing Conga Sign in Salesforce correctly takes about 15-20 minutes. This guide walks you through every step - from the AppExchange download through post-installation configuration - so your team never loses a deal to a broken e-signature workflow.
Conga Sign is an e-signature tool built specifically for Salesforce. It lets users send documents for signature directly from records - opportunities, contracts, quotes, or custom objects. Recipients sign in their browser, and the completed file syncs back to Salesforce automatically.
Unlike DocuSign or Adobe Sign, Conga Sign runs natively inside your org as a managed package. Audit trails, signer status, and completed documents all live where your team already works.
Don't confuse it with Conga Composer (document generation) or Conga CLM (contract lifecycle). They're separate packages. This guide focuses only on installing and configuring Conga Sign.
Conga Sign works with Enterprise, Unlimited, and Performance editions. Professional Edition users should check with Conga's sales team about compatibility.
The installing admin needs: Modify All Data, Access to Metadata API, Customize Application, and Manage Salesforce CRM Content enabled at the profile level. You'll also need a valid Conga Sign subscription.
Document recipients don't need a Conga Sign license. Only users who send documents for signature need one - a common misunderstanding that leads teams to over-purchasing.
Go to Salesforce AppExchange, search for "Conga Sign," and click Get It Now. Log in with a System Administrator account.
Build a record-triggered Flow on the Conga Sign Transaction object. Set it to fire when the Status field changes to your target value - "Completed" for fully signed documents, for example. Then add actions like updating the parent Opportunity stage, sending email alerts, or creating follow-up tasks.
A common pattern of Salesforce engineering teams implements auto-update the Opportunity stage to "Closed Won" and creates a follow-up task when a Transaction hits "Completed." Always test triggers in the sandbox first.
Package install fails: Check for conflicting managed packages using the APXT_CongaSign namespace. Salesforce runs Apex tests during installation -failing tests unrelated to Conga can block the install.
"Insufficient Privileges" error: The user is missing a package license, Apex class/VF page permissions, or the "Salesforce CRM Content User" checkbox on their user record.
OAuth connection fails: Verify System Administrator privileges, check for IP restrictions blocking the callback URL, and clear browser cache. Firewalls and VPNs can also interfere.
Sign button not visible: Re-run Automatic Configuration with the correct objects and profiles. In Lightning, manually add the button through the Lightning App Builder.
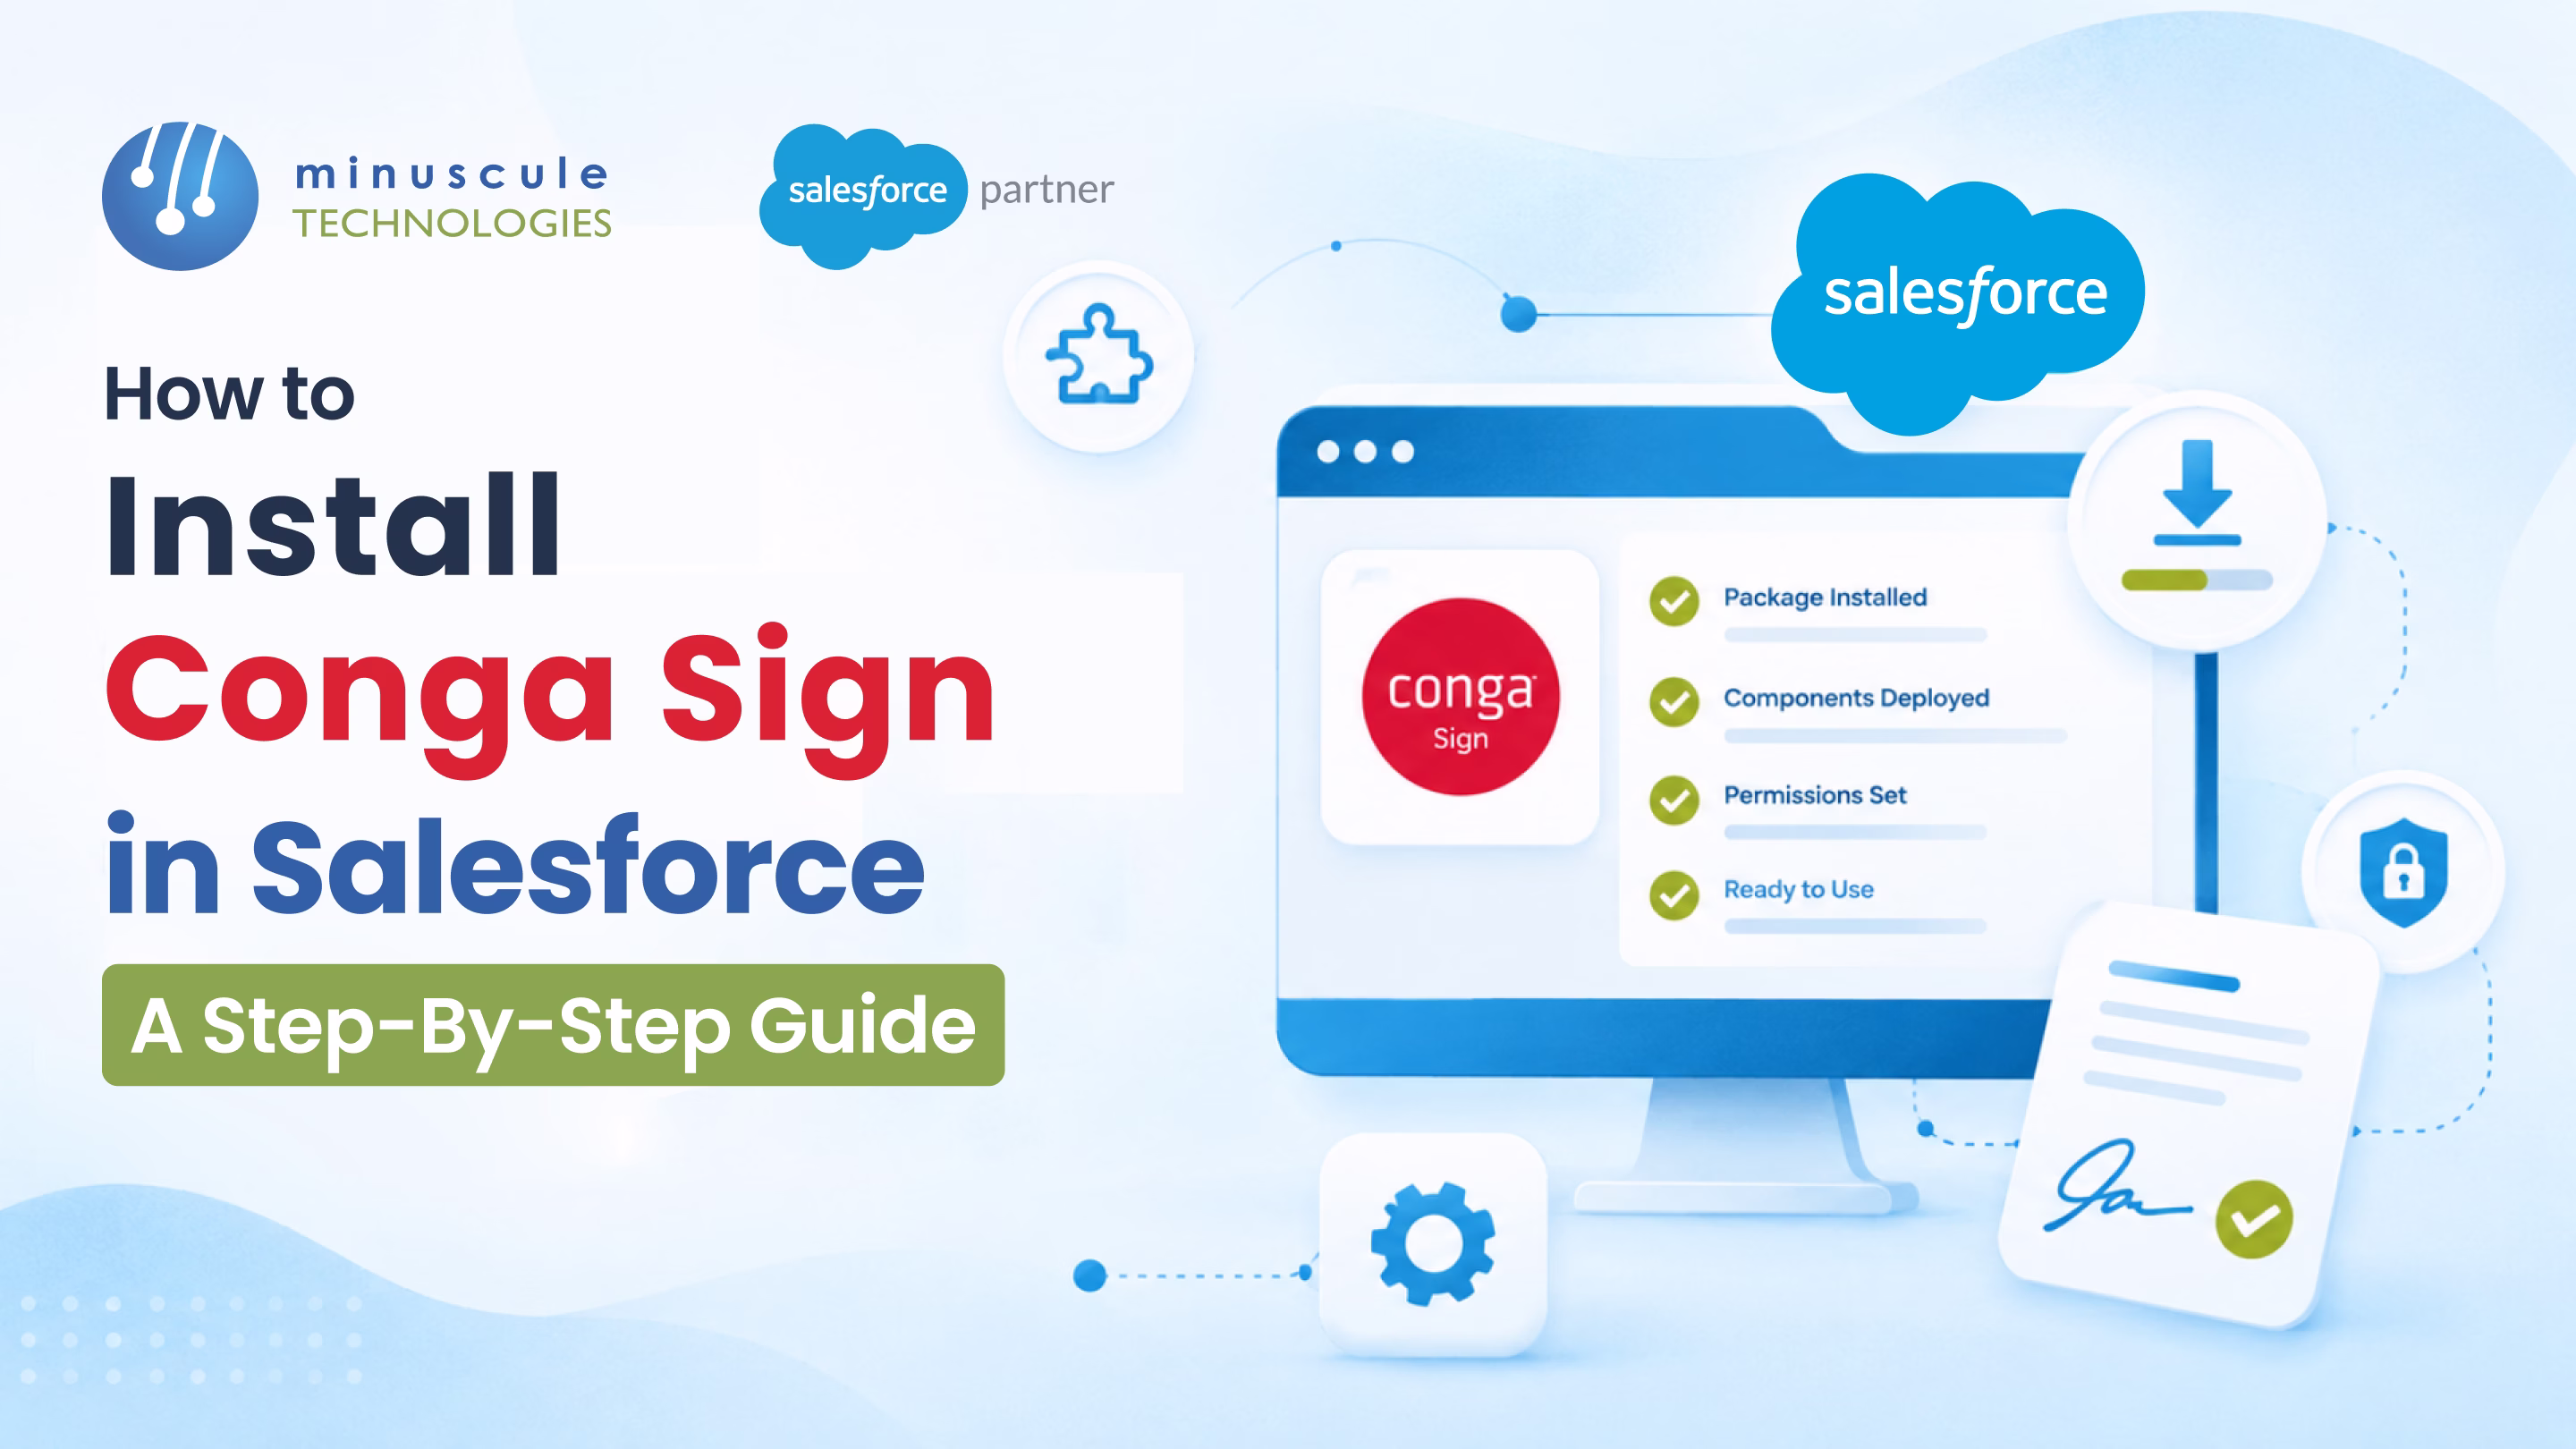
Go to AppExchange, search for the Conga product you need, click "Get It Now," log in as System Administrator, choose Production or Sandbox, and install. Each Conga product is a separate managed package.
After installing, navigate to the Conga Sign Setup Tab. Select your processing region, connect via OAuth using an Integration User, run the Automatic Configuration tool, then assign licenses and configure permissions.
No. Only senders need a license. Recipients sign via an email link in their browser - no Salesforce account or Conga license required.
Both standard and custom objects. Common ones include Opportunities, Contracts, Quotes, and Accounts. Select up to 10 objects per run during Automatic Configuration.
The AppExchange install takes 2-5 minutes. Post-installation configuration adds 10-15 minutes. At end to end, expect about 15-20 minutes for a straightforward setup.
Installing Conga Sign is the starting line. The real payoff comes when you wire it into your workflows - auto-updating stages when contracts are signed, triggering onboarding tasks when deals close, routing multi-party agreements through the right signing order.
But getting from "installed" to "fully integrated" is where most teams stall. Permissions break; the Sign button vanishes certain layouts, and triggers fire on the wrong status.
That's exactly what Minuscule Technologies solves. With 160+ Salesforce experts and 75+ projects delivered globally, we've deployed Conga Sign across sales, legal, and operations teams. We handle permission architecture, process automation, stack integration, and ongoing SLA-backed support.
Whether you're rolling out Conga Sign for a small team or deploying it org-wide, Minuscule Technologies gets you from installation to full adoption faster - with zero rework. Book a free consultation and let's map out your implementation together.
You've seen what's possible. Now, let's make it happen for your business. Whether you need an end-to-end Salesforce solution, a complex integration, or ongoing managed services, our team is ready to deliver.
Schedule a Free Strategic Call


