In today's data-driven world, the ability to seamlessly connect and synchronize information across various platforms is paramount to business success. For organizations leveraging the power of Salesforce, the leading customer relationship management (CRM) platform, integrating with a robust data management solution like Informatica Cloud is a game-changer.
This integration enables businesses to unlock the full potential of their data, streamline operations, and make informed decisions.
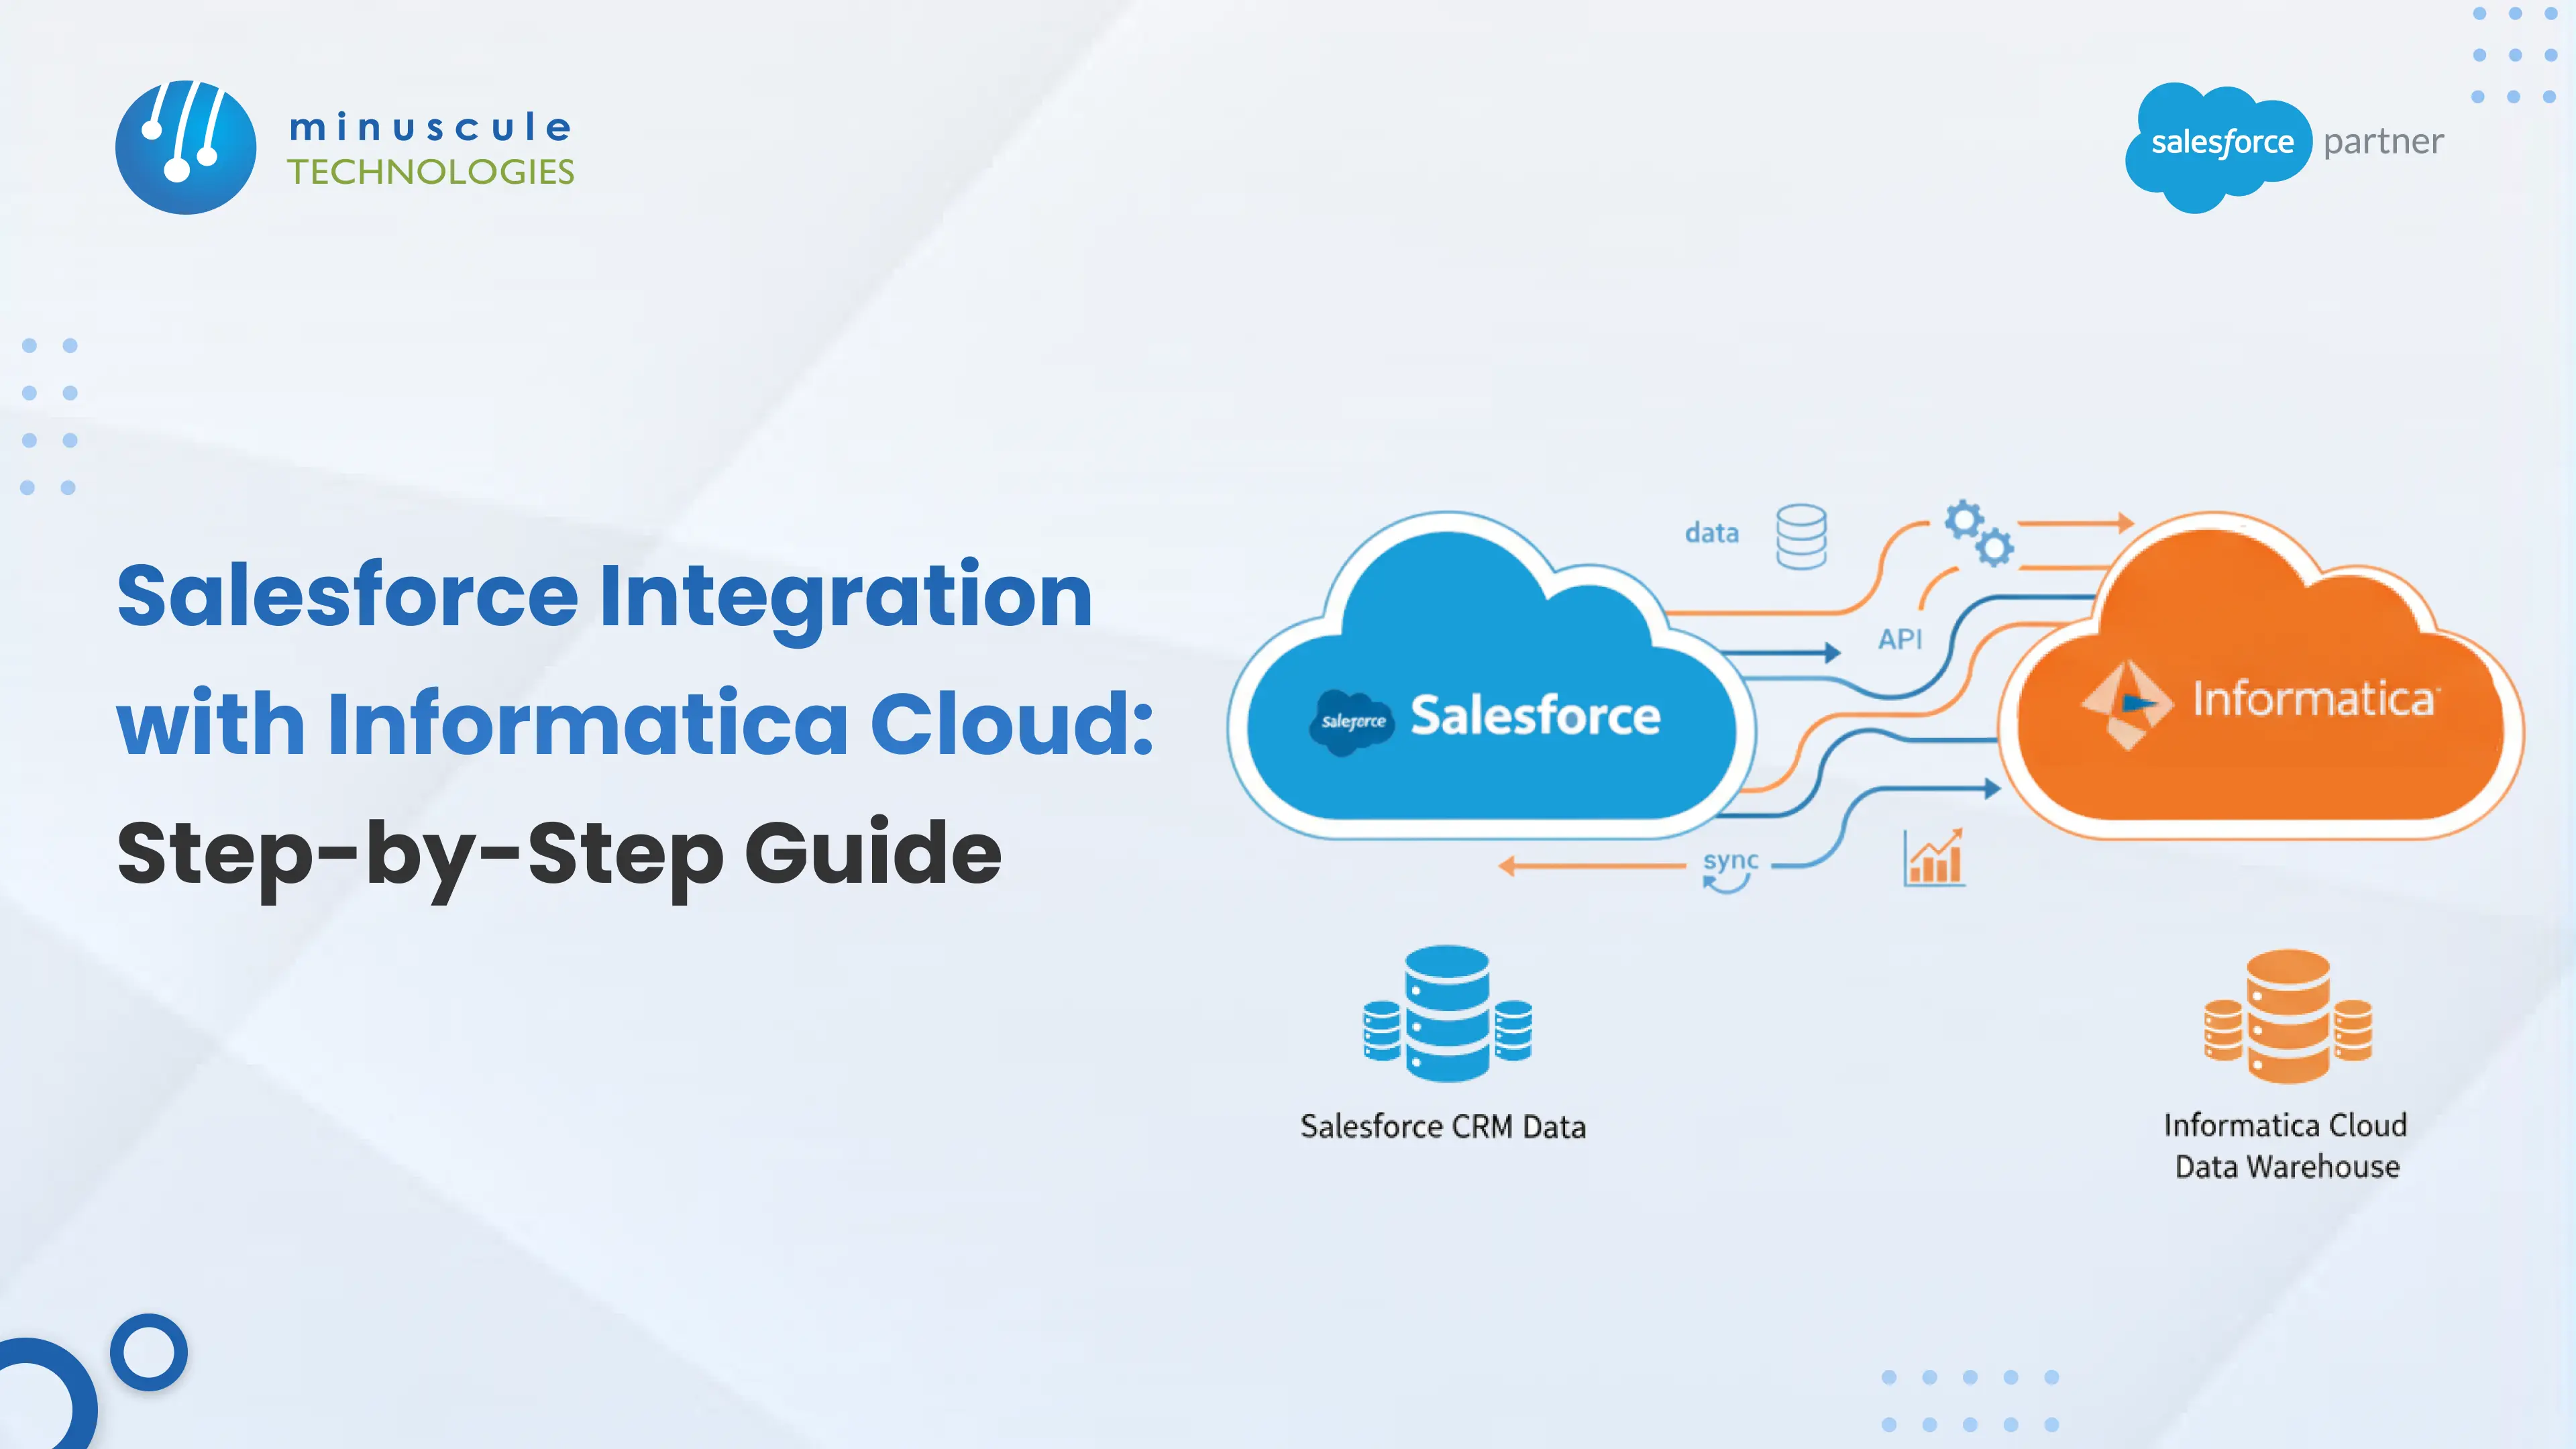
This guide will walk you through the essentials of integrating Salesforce with Informatica Cloud, providing a clear roadmap for successful implementation.
Advantages of Integrating Salesforce with Informatica Cloud
Integrating Salesforce with Informatica Cloud provides numerous benefits that can significantly enhance your business processes and data management strategies. Here are some of the key advantages:
- Enhanced Data Quality and Consistency: By leveraging Informatica's powerful data transformation and cleansing capabilities, you can ensure that the data entering your Salesforce org is accurate, consistent, and free of duplicates. This leads to more reliable reporting and a single source of truth for your customer data.
- Improved Operational Efficiency: Automating data synchronization between Salesforce and other systems eliminates the need for manual data entry, reducing the risk of errors and freeing up valuable time for your team to focus on more strategic initiatives.
- Comprehensive Data Integration: Informatica Cloud enables seamless connections between Salesforce and a wide range of on-premises and cloud-based applications, including ERP systems, databases, and data warehouses. This creates a unified view of your business data, allowing for more comprehensive insights.
- Scalability and Performance: As your data volumes grow, the robust architecture of Informatica Cloud ensures that your integrations can scale to meet the demand, maintaining high performance and reliability.
- Advanced Data Transformations: Informatica offers a comprehensive set of transformation tools that enable you to manipulate, enrich, and restructure data as it moves between Salesforce and other systems. This flexibility is crucial for complex integration scenarios.
Step-by-Step Integration Process
Integrating Salesforce with Informatica Cloud may seem daunting, but with a structured approach, the process becomes manageable. Below is a step-by-step guide to help you through the process.
Step 1: Set Up Your Environment
Before starting the integration, ensure that you have the necessary infrastructure in place:
- Salesforce Account: Ensure you have administrator access to your Salesforce account.
- Informatica Cloud Account: You will need an Informatica Cloud account with the appropriate permissions to access integration features.
- Connectivity: Ensure your network settings allow secure access to both Salesforce and Informatica Cloud.
Once your environment is set up, log into both your Salesforce and Informatica Cloud accounts to begin the configuration process.
Step 2: Establish Salesforce Connection in Informatica Cloud
Now, you need to establish a connection between Salesforce and Informatica Cloud. This process allows the two platforms to communicate with each other and share data. Follow these steps:
- Log in to Informatica Cloud: Use your credentials to access the Informatica Cloud platform.
- Navigate to Connections: Go to the 'Connections' tab in the Informatica Cloud interface.
- Create a New Salesforce Connection: Select 'Salesforce' from the list of available connection types.
- Enter Salesforce Credentials: You’ll need to provide your Salesforce login credentials (username, password, and security token). These credentials will enable Informatica Cloud to authenticate and securely connect with your Salesforce instance.
- Test the Connection: After entering the credentials, click 'Test Connection' to verify that the connection is successful. If successful, you can move to the next step.
Step 3: Set Up Source and Destination Systems
In this step, you will configure the source system (Salesforce) and the destination system (Informatica Cloud) for your integration. Depending on your business needs, you may need to integrate Salesforce data with various databases, cloud applications, or data lakes.
- Define Source Object: In Informatica Cloud, specify the Salesforce objects you want to sync, such as Leads, Contacts, Opportunities, etc.
- Define Destination Object: Select the location where the data should be transferred. This could be an external database, cloud storage, or any other system you're working with.
- Map Fields: Map the fields between the Salesforce objects and their destination counterparts. Ensure that all required fields are correctly aligned to avoid data discrepancies.
Step 4: Create a Data Sync Task
Now that the systems are set up, you can create a data synchronization task. This task automates the process of moving data between Salesforce and Informatica Cloud.
- Navigate to Data Synchronization: From the Informatica Cloud dashboard, select 'Data Synchronization' and click 'New Task'.
- Choose Source and Destination: Select the source (Salesforce) and destination (where you want to send the data).
- Configure Sync Options: Choose whether to perform a one-time data sync or schedule recurring syncs. You can configure the task to run daily, weekly, or at specific times depending on your needs.
- Set Transformation Rules: If necessary, set up transformation rules to clean, aggregate, or modify data as it is transferred.
- Run the Task: Once your sync task is set up, run it to begin the data transfer process.
Step 5: Track and Resolve Issues
After the integration task is running, it’s essential to monitor its progress and troubleshoot any issues that arise.
- Monitor Task Progress: Check the status of your integration tasks through the Informatica Cloud dashboard. You can view the task logs to check for any errors or issues.
- Handle Errors: If errors occur, Informatica Cloud provides detailed error messages that help you pinpoint the issue. Common issues could include incorrect field mappings, connectivity problems, or data validation failures.
- Resolve Issues: Based on the error logs, make necessary corrections in the field mappings, transformation rules, or connections. Once corrections are made, re-run the task to ensure smooth integration.
Best Practices for Integrating Salesforce with Informatica
To ensure a successful Salesforce-Informatica Cloud integration, consider the following best practices:
Thorough Testing: Always test the integration in a sandbox environment before moving it to production. This allows you to identify any issues without affecting your live data.
- Data Cleansing: Ensure that your data is clean and properly formatted before transferring it to ensure accurate reporting and analysis.
- Monitor Performance: Regularly monitor the performance of your integration to avoid slowdowns or data sync issues. If necessary, optimize your integration process for faster performance.
- Automation: Automate data sync tasks to ensure real-time data updates. Set appropriate intervals for syncing to avoid data lag.
- Documentation: Keep detailed documentation of your integration processes, mappings, and settings. This will help in troubleshooting issues and maintaining the integration in the long term.
Final Thoughts
Integrating Salesforce with Informatica Cloud is a powerful combination that can significantly transform your data management capabilities and deliver a substantial return on investment.
By following the steps and best practices outlined in this guide, you can create a robust and scalable integration that will empower your organization with clean, consistent, and actionable data. As a seasoned Salesforce consultant, I can attest to the value that a well-executed integration can bring to a business.
By taking a strategic and methodical approach, you can unlock new levels of efficiency and insight, giving you a competitive edge in today's dynamic market.